Zero-OS Boot Generator
Table of Contents
- Introduction
- Set the Environment
- Prepare the Machine
- Set a DNS A Record
- Set a Firewall
- Set HTTPS with Caddy
- Run the Development Server
- Visit the Boot Generator
Introduction
We cover how to deploy the development server of the Zero-OS Boot Generator Assistant.
Visit the 0-bootstrap repo for more information.
Set the Environment
There are many ways to set your environment. Here we show with Docker and a micro VM.
Using Docker should only be used as a test before deploying on a micro VM with IPv4 and IPv6.
With Docker Ubuntu 22.04
- Deploy Ubuntu 22.04 (Jammy) with Docker
sudo docker pull ubuntu:jammy
sudo docker run -it ubuntu:jammy /bin/bash
With Ubuntu 22.04 Micro VM on TFGrid
- Deploy an Ubuntu 22.04 micro VM on the Dashboard
- Set IPv4 and IPv6 as
Network
- Set IPv4 and IPv6 as
- SSH into the VM
- It is recommended to use VSCodium Explorer to facilitate the file management and editing
Prepare the Machine
Set the machine to deploy the server
- Set the machine in i386
dpkg --add-architecture i386
- Update the packages
apt update
- Install python3-flask
echo "2" | apt install -y python3-flask
- Install the prerequisites
apt install -y mtools syslinux isolinux libc6-dev-i386 libc6-dbg:i386 git wget genisoimage liblzma-dev build-essential sqlite3 nano
Set a DNS A Record
Set a DNS A Record pointing to the server hosting the micro VM.
- Go to your domain name registrar
- In the section Advanced DNS, add a DNS A Record to your domain and link it to the IP address of the VM you deployed on:
- Type: A Record
- Host: @
- Value: <IPv4_Address>
- TTL: Automatic
- It might take up to 30 minutes to set the DNS properly.
- To check if the A record has been registered, you can use a common DNS checker:
-
https://dnschecker.org/#A/example.com
-
- In the section Advanced DNS, add a DNS A Record to your domain and link it to the IP address of the VM you deployed on:
Set a Firewall
We set a firewall.
- Install ufw
apt install -y ufw
- Set the ports
ufw allow 80
ufw allow 443
ufw allow 22
- Enable and see the status
ufw enable
ufw status
Set HTTPS with Caddy
We set HTTPS with Caddy. First, we test manually, then we set a zinit service.
Manually
- Install Caddy
apt install -y debian-keyring debian-archive-keyring apt-transport-https curl
curl -1sLf 'https://dl.cloudsmith.io/public/caddy/stable/gpg.key' | gpg --dearmor -o /usr/share/keyrings/caddy-stable-archive-keyring.gpg
curl -1sLf 'https://dl.cloudsmith.io/public/caddy/stable/debian.deb.txt' > /etc/apt/sources.list.d/caddy-stable.list
apt update
apt install caddy
- Start Caddy
caddy reverse-proxy -r --from example.com --to :5555
You can also set Caddy to run with zinit, as shown below.
With Zinit
We manage Caddy with zinit.
- Open the file for editing
nano /etc/zinit/caddy.yaml - Insert the following line with your own domain and save the file
exec: caddy reverse-proxy -r --from example.com --to :80 - Add the new Caddy file to zinit
zinit monitor caddy
Zinit will start up Caddy immediately, restart it if it ever crashes, and start it up automatically after any reboots. Assuming you tested the Caddy invocation above and used the same form here, that should be all there is to it.
Here are some other Zinit commands that could be helpful to troubleshoot issues:
- See status of all services (same as "zinit list")
zinit - Get logs for a service
zinit log caddy - Restart a service (to test configuration changes, for example)
zinit stop caddy
zinit start caddy
Now that we set the domain and HTTPS, let's deploy the development server with Python.
Run the Development Server
We show how to deploy the Boot Generator with Python.
- Clone the repository
git clone https://github.com/threefoldtech/0-bootstrap
cd 0-bootstrap
- Copy the sample file to config.py and add the proper info (e.g. set domain)
cp config.py.sample config.py
- In config.py, set the proper info, e.g. replace
http://default.tldwith your own domain, e.g.https://example.com
sed -i 's/http:\/\/default\.tld/https:\/\/example\.com/g' config.py
- Create the database
cat db/schema.sql | sqlite3 db/bootstrap.sqlite3
- Run the template script
bash setup/template.sh
- Run the development server with Python
python3 bootstrap.py
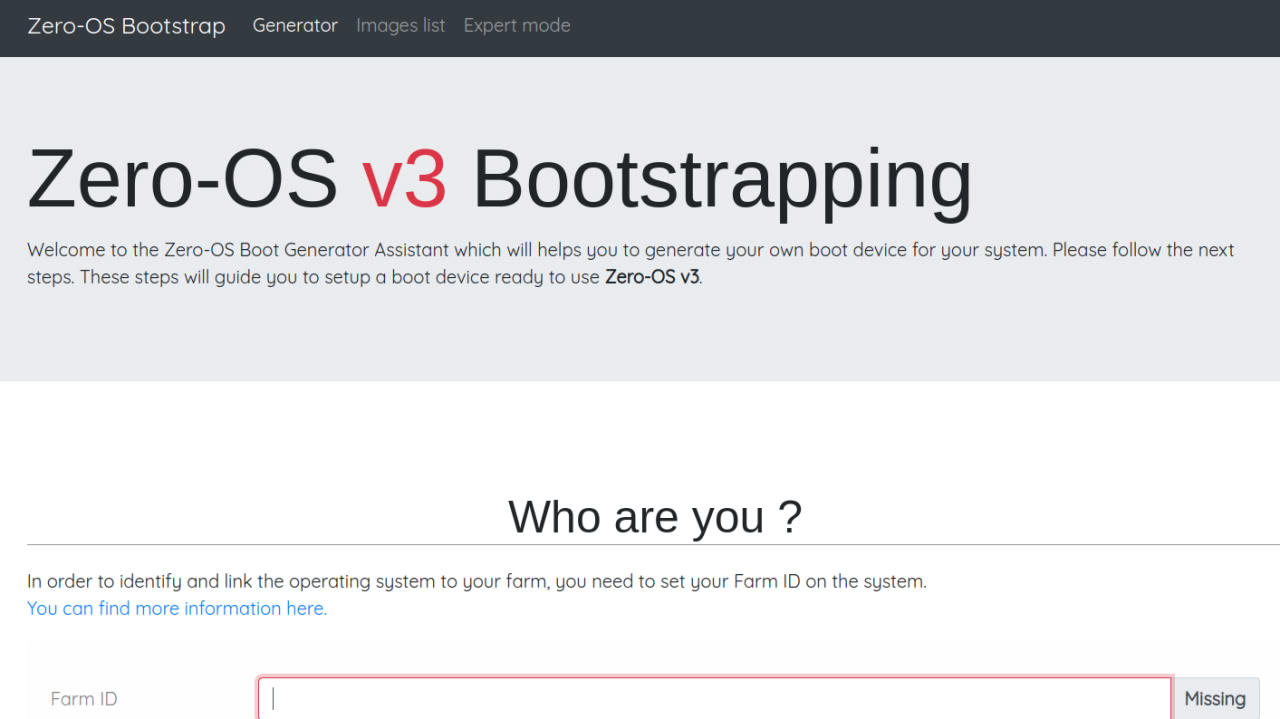
Visit the Boot Generator
You can now access the boot generator on https://example.com.